Quick Start

Reminder 365 works with SharePoint Online  / Office 365 (Microsoft’s hosted version of SharePoint) to provide customizable and Date Based email alerts  such as “ This task is due soon ” and “ This task is Overdue ”

(SharePoint online’s built in alerts can’t do this sort of date based alerts and are impossible to customise)

To Start

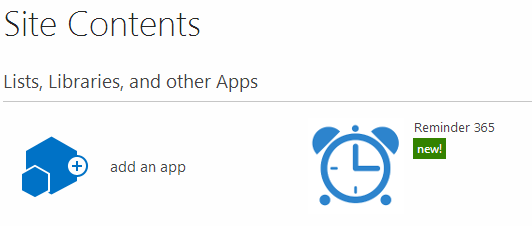
Install the App on your SharePoint Online site by following the directions in the Microsoft Office App Store.

signup

You can now find and click on it in the Site Contents page:
Site Contents

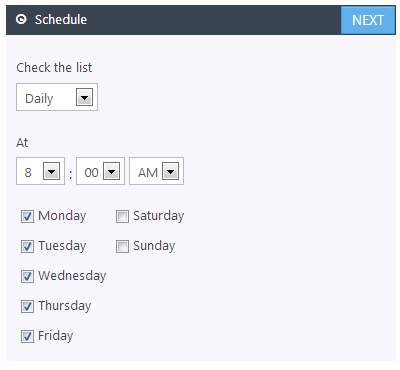
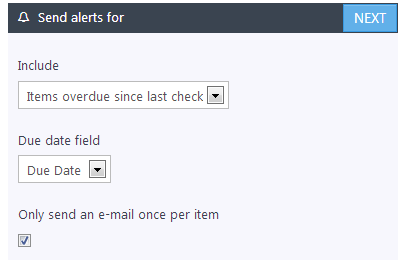
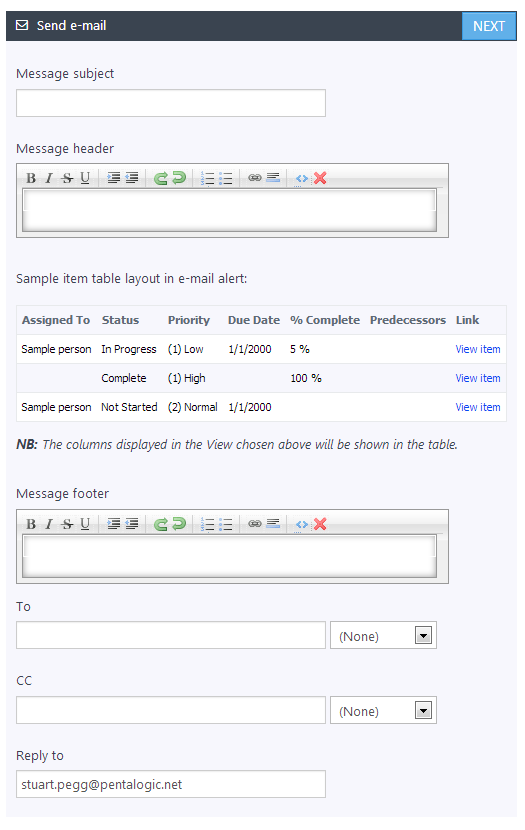
You are then prompted to setup your first Alert:
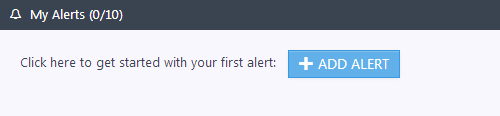
firstalert

Watch List View

Here you choose which List and View Reminder 365 should watch and send Alerts for.

The alert will only check items shown on the view selected so you can create Views to Filter only the items you need watching.

Most of the time you would use something like the Active Tasks view as you don’t want to get email alerts about tasks that are already completed but you can create and modify views as you need. (e.g. you could create a view for “High Priority”)

If you use the My Tasks view then it has a [Me] filter, it will only check items belonging to the user Reminder 365 logs in as.

List

Schedule

The Schedule section determines how often an alert is run.

This is the main difference between SharePoint’s built-in alerts and R365’s alerts: R365 can run on a schedule, but SharePoint’s alerts are only run when a specific action happens.

Schedule

Send alerts for

This is where you decide what you want to check for. They can send alerts for items due soon, overdue items, or for all items shown in a view.

If you choose to only send an e-mail alert once per item, they won’t ever receive a second alert for an item, even if it is later updated (e.g. the Due Date is increased by a week and becomes overdue again).

More Details…

Send alerts for

Send e-mail

This section is where you decide who the email should be sent to, and what other information should be sent.

The body of the e-mail is made up of the Header, the table of items that matched the alert’s check, and the Footer.

If you want to add/remove fields from the email then either modify the View that you are using or set-up a new View in SharePoint just for Reminder 365.

The email can be sent to a set e-mail address and/or the people listed in the a column such as Assigned To  – so you can setup an alert that will notify members of your team, you don’t have to ask them to setup alerts themselves.

It may be some hours before this new alert is ran – if you’re impatient see Run Now  in the next section.

Send e-mail

My Alerts

On the My Alerts page you can see all the alerts you’ve set up.

My Alerts

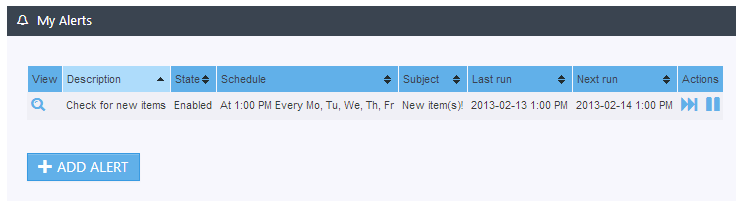
It may be some hours before the next run time so, especially for new alerts, you may want to select the “Run Now” button.

If you want to temporarily pause the alert you can use the pause button and the view button will allow you to view and edit the alert.

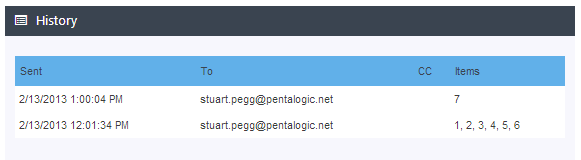
On the bottom of the View screen you will see a History of the times alert has sent out emails.

image00